
Open Eclipse (I’m using Oxygen Release (4.7.0))
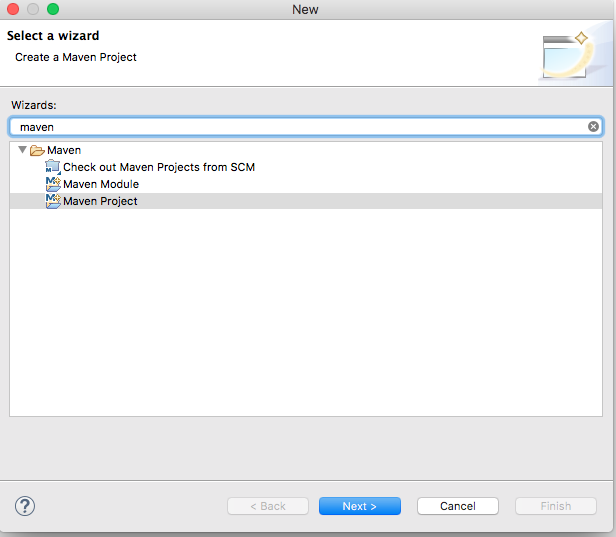
1- Click file New then Other, Select Maven Project, then Next, on the second wizard page keep default and then Next.
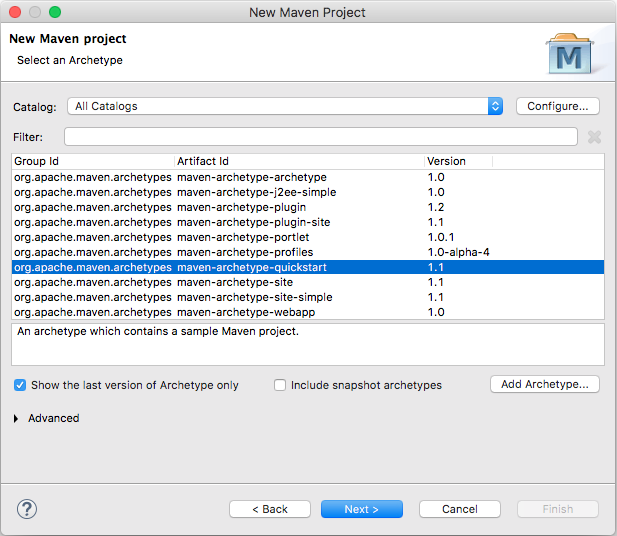
2- On the Archetype page you will not Camunda,
- Click on Configure
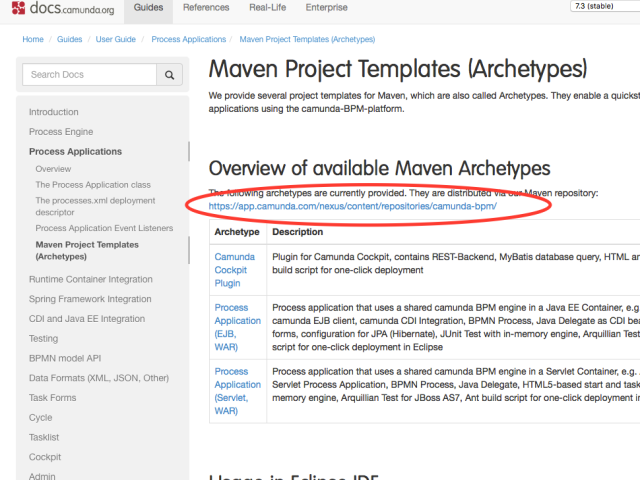
3- Add Remote Catalog
- Copy paste the : https://docs.camunda.org/manual/7.3/guides/user-guide/#process-applications-maven-project-templates-archetypes
- Put Camunda as description

Now you can see Camunda under Catalogs
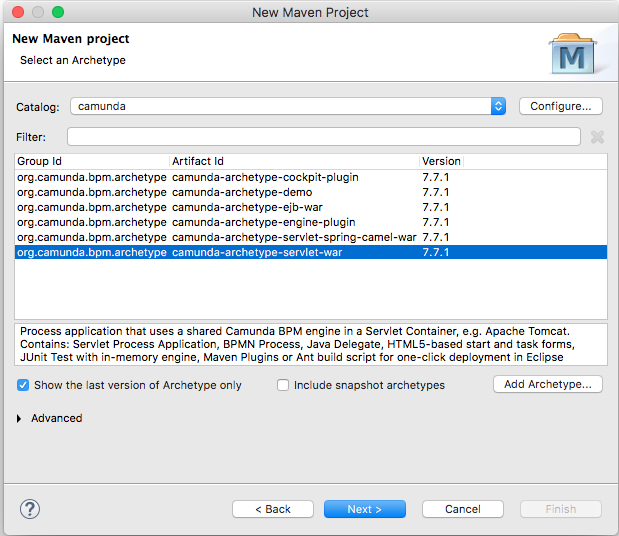
4- Select Camunda
5- Select Camunda-archetype-servlet-war
- On the next page give your project and package a name and Click Finish
Your directory structure should look like the below screen.
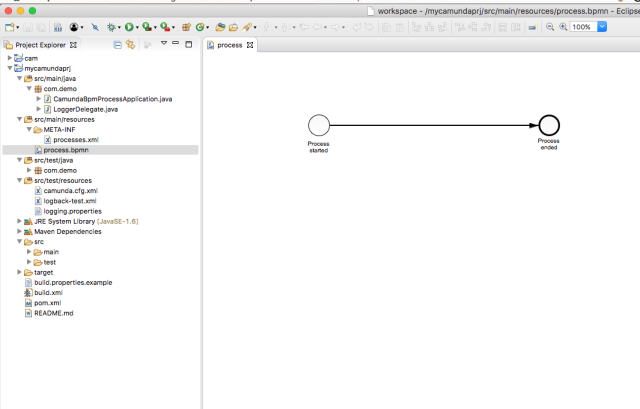
- As you see a template empty BPMN process is create, this will be your starting point for farther development
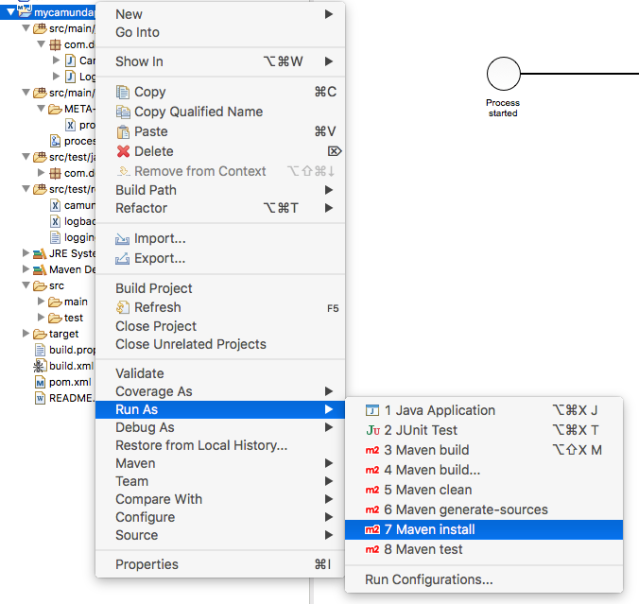
6- Now you can run your project as Maven Install
- Check your directory structure, you see a WAR file create
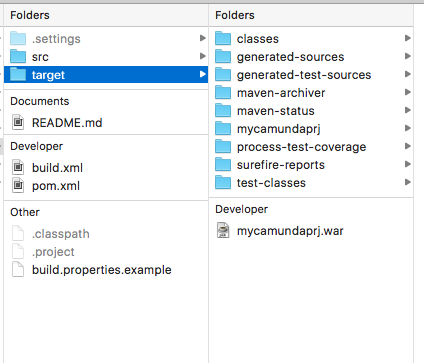
- Just deploy the WAR file to your Camunda installation folder
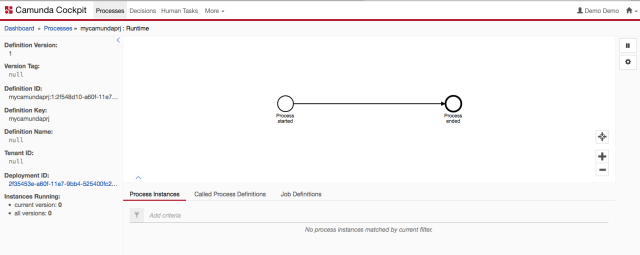
- Check in the console, you can see your deployed process under the processes
In case of any question, please leave a comment.
